
Pull Up Banner Replacement Graphics
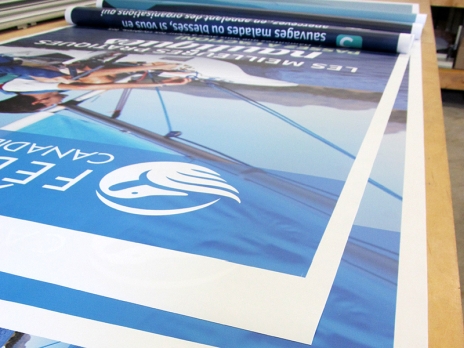
So you've got a retractable banner stand that is still in good condition, but the graphics are for an old promotion or event. Do you have a new event approaching, but want to reuse the stand? Good news. You can. Pull up banner replacement graphics are easy to create, and can bring life to an old stand.
You can reuse most retractable banner stands. The old graphics can be removed and a new banner installed.
KCBGraphics.com is a leading supplier of banner stands and trade show products in Toronto, Ontario. If you need pull up banner replacement graphics check out our products here, send us an email, or give us a call at 1-800-350-7152.
What Are My Printing Options?
We offer 2 different options for printing. Our premium replacement graphics are printed on a high quality, stay flat vinyl. We also offer an economy option, printed a slightly lower quality vinyl for those on a tight budget. Both economy and premium are printed in full colour. There are three size options for each, depending on the width of pull up banner replacement graphics. Choose from up to 33" wide, 41" wide, or 51" wide.
How to Measure Pull Up Banner Replacement Graphics
With so many stands available, how do you know you'll get a replacement banner that fits perfectly? Knowing the size of your retractable banner stand is key.
So, first off, if you know the name or type of stand you have let your printer know too. It may be written on the base somewhere, or maybe there's still an info sheet in the carry bag. This will help your printer and designer make sure they get the sizing correct.
If you don't know the type of stand (or even if you do), set the current stand up and measure the current graphic.
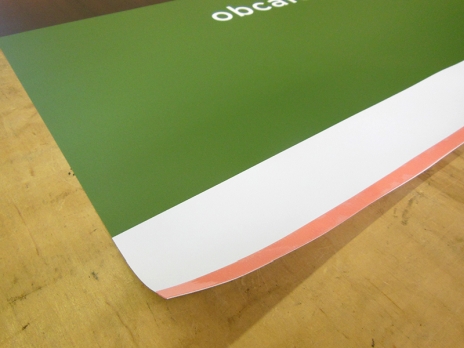
You'll want the width, and the height. For the height, take it from the bottom where the stand slips inside the base. Go right to the top, including the top rail. Your printer and designer will want to know these measurements to make sure they print the proper bleeds for your banner stand replacement graphics.
Some top rails require a 1/2 inch bleed. Others will need 3/4. This can change from stand to stand. If you can measure your top rail, it would be great for your designer and printer to know that too.
Who Installs the New Banner?
We can install the new graphics if you want, or we can ship you your pull up banner replacement graphics on their own for you to install. Depending on your experience with banner stands, replacing the graphics can be tricky. The way to do this can change slightly stand to stand. They are usually similar, but not all exactly the same.
Here is a post about changing the graphics on either an Advance or Imagine style pop up stand.
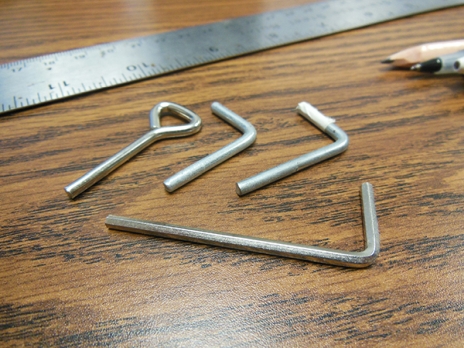
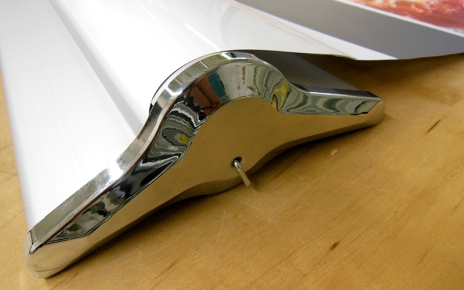
In short, you need a table or space large enough to fully extend the banner stand. Hopefully, you still have a locking pin (a small metal pin attached the bottom of the stand).

This pin will be needed to lock the spring mechanism inside the base. Once extended, the pin goes in the small hole on one of the sides of the base. It will stop the cartridge inside from turning. If you do not have a pin, you can MacGyver it with a small Allen key or sturdy metal pin. Just find one that will fit in the side hole to lock the mechanism.
How Do I Install the Banner Stand Replacement Graphics?
One person should hold the base while another pulls the banner out as far as it will go. About 6 inches below the bottom of the artwork, you should see where the printed vinyl banner is attached to the base. This should be a leader strip of some sort, a piece of material or vinyl that remains on the spring loaded mechanism. Pull the banner so that where the current banner stand graphics attaches to this leader strip is visible. With the banner still extended, insert the locking pin to stop the banner from retracting.
You may have to pull the banner or let it slide in a little bit to find the hole to lock the mechanism.
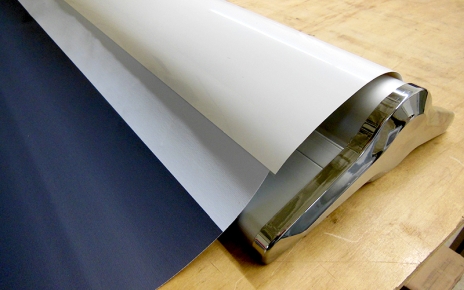
Pull the banner until the leader strip is visible. Peel off the old banner graphic and attached the new.
Brilliant. Now, with the pin securely in place, remove the old graphic. Peel it away from the still attached leader strip. The tape may be old and gunky, but with a little patience the old banner will come off. Then, simply attach the new graphic. Take care to ensure you've got it the right way around, that the front faces front.
You will also need to remove the top rail from the old banner, and attach it to the new. This will either be taped in place, have a j-strip, or be clamped in place.
With the leader strip visible, lock the mechanism in place with an Allen key or metal pin.

Some bases have different attaching strips. This one the j-strips to attach the new graphic to the base.
After the New Graphics are Installed
The tape will need at least 12 hours to fully bond. Leave it overnight, and retract it in the morning. Again, have one person to hold the firmly top of the banner. Another person should hold the base. When you're ready, remove the locking pin. You'll feel the tension immediately spring back onto the stand. Slowly allow the new graphic to slide back into the base. Done and done.
As I mentioned above, different stands can be slightly different here. You can face other problems, like a broken and cracked leader strip or a faulty mechanism. Other stands use Velcro instead of tape.
Once you've installed your new pull up banner replacement graphics, your banner is ready to go. You've saved a bit of cash, and your old stand is like new again. Keep your stand in good condition, and you could get many different uses out of it.
Related Products


Leave a Comment